Paint Shop Pro (Works in Adobe Photoshop too) Creating Texts with Paint Brushes and Tubes Rhonda Walker 2009
Step 1 – Open a document 1200 Wide x 400 High This will give you plenty of working space.
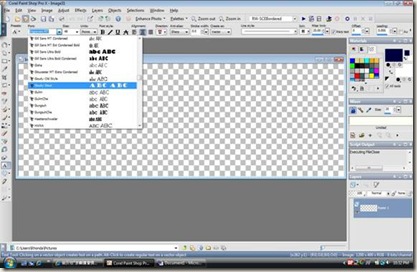
Step 2 – Select your Text tool and pick your font. Step 3 – Enter your text.
Step 4 – Make sure you have your vector layer active and then click on Selections and then From Vector Object.
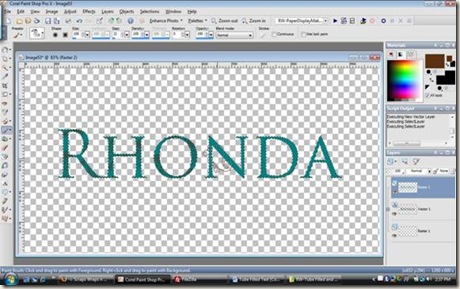
Step 5 – Click on Layer and then New Raster Layer. Flood Fill with your desired color. Then click on Layer and then New Raster Layer. Then Select the Paint Brush you wish to use. Select the color you wish to use and paint over your text.
Step 6 – To add a border around the text, go to Selection, Expand and expand the selection 5 pixels. Then Layers, New Raster Layer and Flood Fill with your selected color. Move the New layer behind the Painted Text Layer.
Step 7 – Then select Selection, Modify, Contract 5 pixels and then Selections Modify, Select Selections Border. Set Border width as 5 with Anti Alias selected and Outside checked.
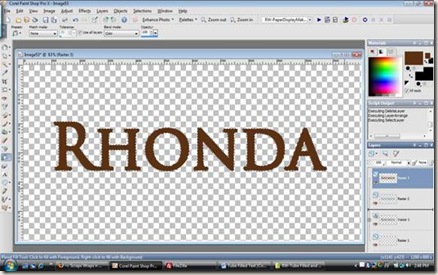
Step 8 – Add a bevel by selecting Effects, 3D Effects and Inner Bevel. Use the bevel to your liking with your desired settings. Play with it to get the look you want. Then choose select none. Delete the Vector Layer and then Layers, Merge Visible. Your text is now complete!
Step 9 – Use your magic wand to select around the text and then choose Selection, Invert and then Image, Crop to Selection.
To do this with Picture Tubes, select the tube you want instead of a paint brush, fill in with your selected tube instead and follow the remaining steps. See below for tube filled text
Another example of a text filled with a picture tube


No comments:
Post a Comment