It has been a long while since I’ve written a tutorial…and it is LONG overdue! This tutorial was inspired by Marie who wanted to add a graphic to a photo. She did a great job, unfortunately she lost her background which would have rounded out the picture. This tutorial was written using PSP X but will work in older and newer versions as well. I have PSP 9 through X5 (have had X5 for almost a year and haven’t installed it yet!) There are different ways to do this using X4 and up so another tutorial for that will follow a little later.
Tools you will need:
Paint Shop Pro and an Imagination
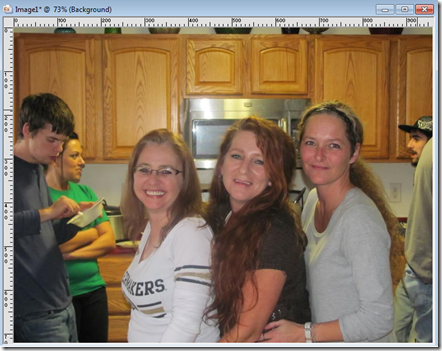
Step 1 – Open the image you will be working on. For this tutorial I am using a picture of me and my sisters at Thanksgiving last year.
Step 2 – Go to Window and then select Duplicate. Then close the ORIGINAL image. I highly advise this step so that you do not inadvertently make permanent changes to the original image.
Now here is what we should have

Don’t we look happy? LOL
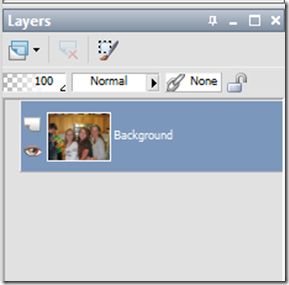
Our pallet layer should look like this:

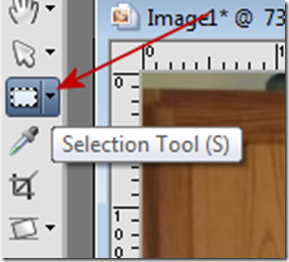
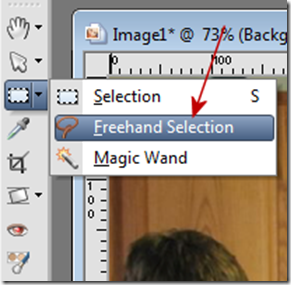
Step 3 – Click on your Selection Tool:

And click on Freehand Selection

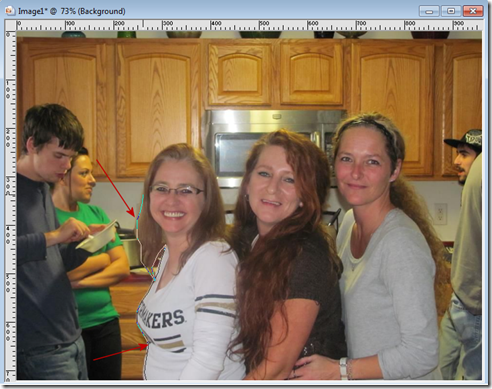
Step 4 – A Lasso will appear….Starting at the bottom edge of the image, select the area that you want to KEEP using small segments to connect. The smaller segments are going to help keep your rounded portions more realistic and help eliminate jagged edges.
Using small clicks with the left button on your mouse…we are starting to see an outline form on the left hand side.

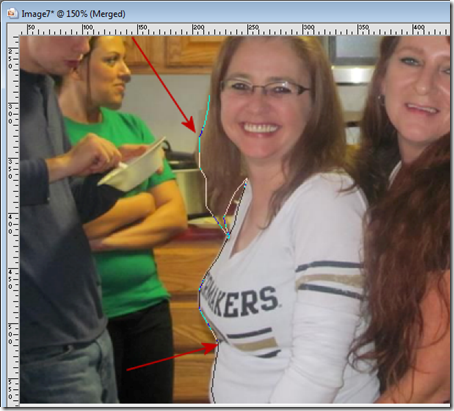
Here is a zoomed in image of the line starting to form

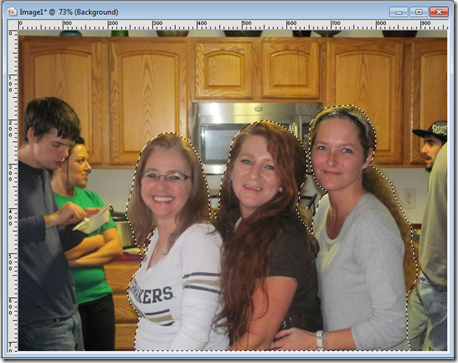
Continue outlining the portion of the image that you want to keep. Be sure to continue back to your starting point to make the final connection. Once the final connection has been made, right click with your mouse and the “marching ants” will appear around the portion you want to keep.

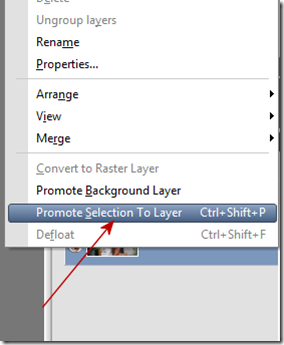
Step 5 – Go to your layers pallet and right click on the layer labeled background. Select Promote Selection to Layer

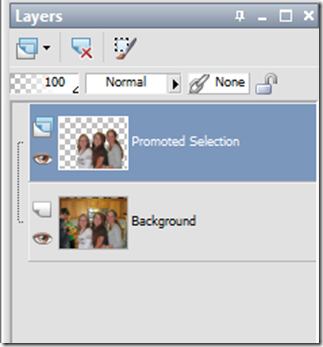
Your layers pallet should now look like this:

Step 6 – Go to Selections then Select None.
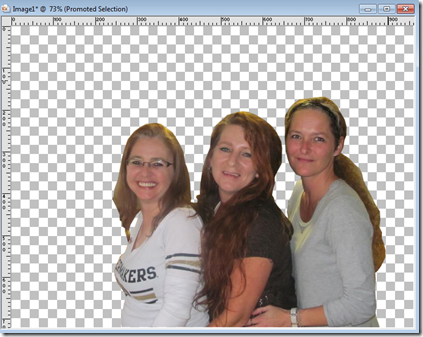
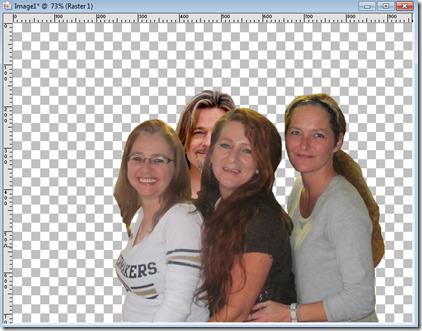
Step 7 – Click on the eye next to the layer labeled background to make that layer invisible. This is what our image looks like now.

Now here is where the REAL fun begins!
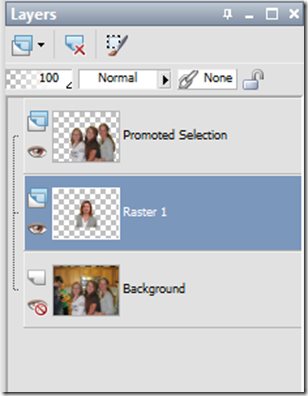
For this tutorial I am going to invite someone to dinner…opening a SECOND photo (of our mystery guest) and using the photo of them, I am going to repeat the process using the freehand selection to outline their image. Once I have them outlined, and the marching ants are around them…..we will go to Edit and then Copy……And then we will make our picture of us girls together as the “active image” by clicking on it. We will then click on the layer labeled “background” to make it the active layer (still invisible) and then go to Edit and then Paste as a New Layer.
Here is what our layer pallet now looks like:

And who did we invite to dinner??? Here is our image so far:

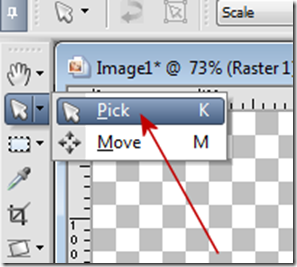
Who is it? Can you tell yet? They are hidden back there somewhere behind my sister! So We will click on the layer labeled Raster 1 to make it the “active” layer. Then go to the Pick tool and select “Pick” For PSP 9 and earlier this will be the Raster Deform Tool.

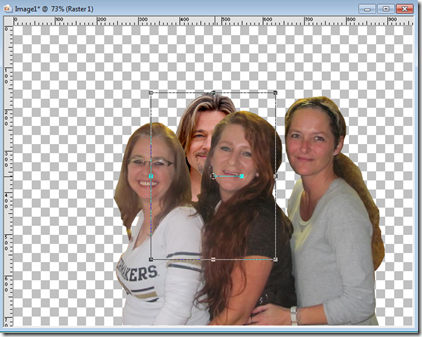
Ok….now our mystery guest is selected and we will place our mouse in the center of the mystery guest layer

and using our left mouse button we will (drag) move them up so they are more visible.
Our image will look like this as we are moving them:

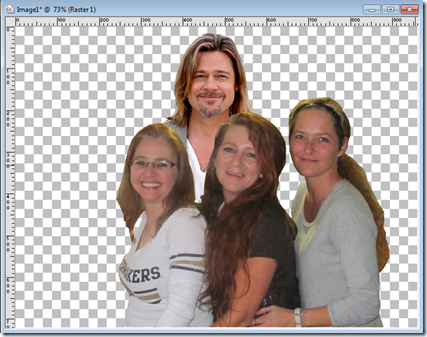
Once you have them where you want them…..let go of the mouse. Here is what we now have:

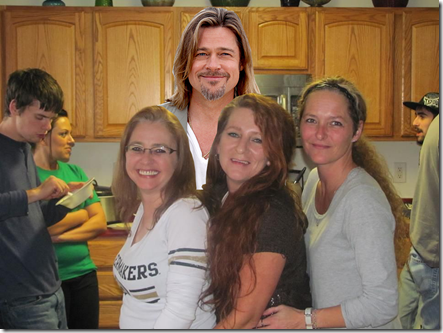
That’s right ladies….who hasn’t dreamt of having Thanksgiving dinner (or any other dinner) with Brad Pitt? LOL
Now….let’s invite the family back…..
Click on the eye next to the bottom layer labeled background to make it visible again. And here is our final image:

Gobble! Gobble! And it’s a VERY Happy Thanksgiving! LOL
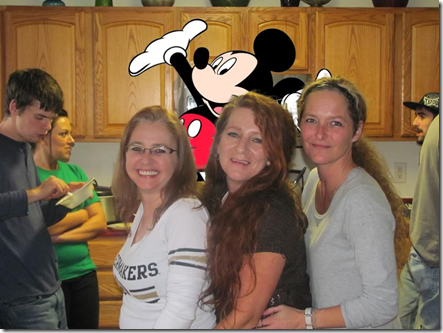
Marie wanted to add a clipart image (graphic) to a photo. So here is a sample using a graphic clipart:

Ok…so Mickey is no Brad Pitt…but I dare ask….who hasn’t wanted to have dinner with Mickey too?!
With most of your clipart…they may already be saved in a transparent PNG format. This is a time saver for you since you will not have to trace their image and copy, simply copy the transparent image and paste it as a new layer. If it has a white background or a colored background you will need to make it transparent. The best way is to export the image as a PNG image and be sure to select transparency and select the color of the background to make it transparent…then you can open the new transparent image and copy and paste as a new layer.
I hope you found this tutorial to be helpful. I know I found it to be entertaining! It is late…and I need to go to bed…and will be dreaming of Brad Pitt at Thanksgiving dinner. Hey…one can wish can’t they?!
I look forward to seeing your photo mash ups using this technique…..happy creating!

