So it has been a very long time since I have been in here! I so miss you my PSP Tut followers! I am excited to be back and hope to start pushing out more tuts as time permits and as my brain can come up with them. I do have some tuts in mind using both PSP and the Silhouette Digital Cutter…but those are for another day! So today we are going to accomplish a couple of things: first making a re-colorable template that will make creating many plaids from many different color sources easy, then I am going to show you how to make the plaid from the template! These are not your typical plaids you see. These are kind of fun and imperfect which I, at the moment, happen to like. OK….so on to the tut!
This tutorial will work in PSP9 and greater.
Tools you will need:
PSP of course!
Simple Filters: Diamond and 4 Way Average.
You can pick up both of these filters here: Simple Filters
And now…..here we go!
Step 1 – Go to the site listed above and save both the Diamond and 4 Way Average filters to your hard drive. SUGGESTION: If you are saving these tuts under Rhonda’s Tuts or whatever, save the filters to the folder that contains THIS tut.
Step 2 – Unzip the tuts into the folder where you are keeping your tuts.
Step 3 – Hold down your CTRL key and left click on both filter FOLDERS. Right click and select COPY
Step 4 – Go to where you keep your plugins. For most people this would be My Documents/My PSP Files/Plugins. Then right click and hit PASTE. Both filters are now installed.
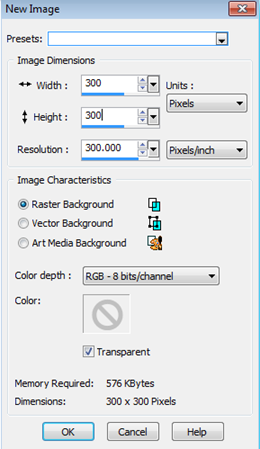
Step 5 – Open your PSP and start a new image using the settings below:
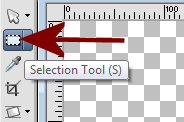
Step 6 – Click on your Selection tool:
Step 7 – At the top, on the toolbar you will now click on the custom selection tool:
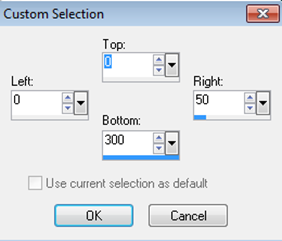
Step 8 – Use the following settings:
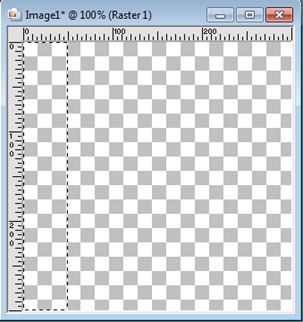
Step 9 – Your workspace should appear as below:
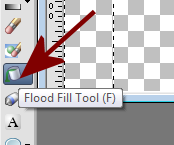
Step 10 – Select your flood fill tool:
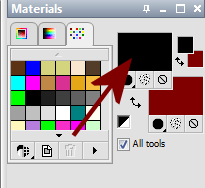
Step 11 – Set your foreground color to black:
Just left click on the rectangle area and you will be taken to the area to change the color to black.
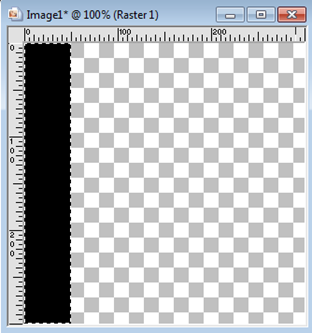
Step 12 – Now, using your flood fill tool: Left click INSIDE the rectangle with the marching ants. Your image will now appear as below:
Step 13 – On the top toolbar: Go to Selections/Select None
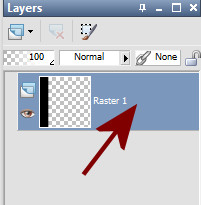
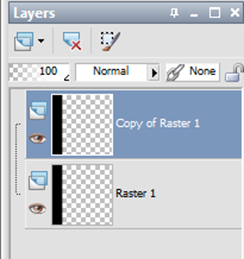
Step 14 – On your layer pallet right click on the layer titled Raster 1 and select Duplicate.
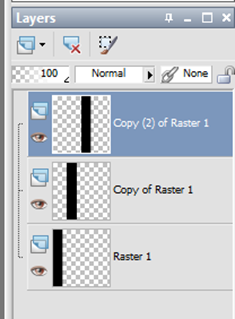
You will now have two layers and your layers pallet will look like below:
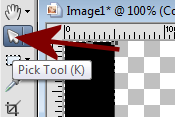
Step 15 – Click on your Pick Tool (In PSP 9 or earlier this is your Raster Deform tool)
and now at the top toolbar change your Position X from 0.00 to 75
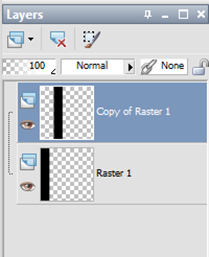
Your layers pallet should now appear as below:
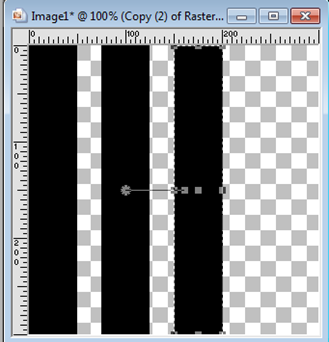
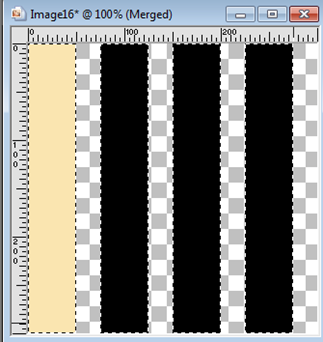
Step 16 – Now, right click on the layer that says Copy of Raster 1, select Duplicate, and repeat step 15 above EXCEPT change the X position from 75 to 150. Your image will now appear as below:
And your layers pallet will appear as below:
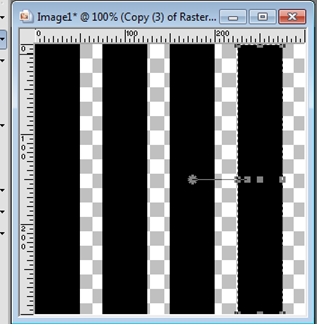
Step 17 – Right click on the layer that reads Copy (2) of Raster 1 and select duplicate. Repeat step 15 as above EXCEPT now change the Position X from 150 to 225.
Your image should now have 4 solid black stripes as below:
And you should have 4 layers in your layers pallet.
Now on the top tool bar select Layers/Merge/Merge Visible. You will now have 1 layer that has 4 solid black stripes and a transparent background. Go to File/Save As and save the file where you will be able to find it easy in the future. BE SURE TO SAVE THIS AS A PSP WORKSPACE…..so you can make changes to it later if you would like AND name it something like stripes template…..or whatever is easier for you to remember. Now, you have your template made. It is saved as a workspace for future use. Now, let’s get on to making some cute imperfect plaids!
MAKING THE PLAID
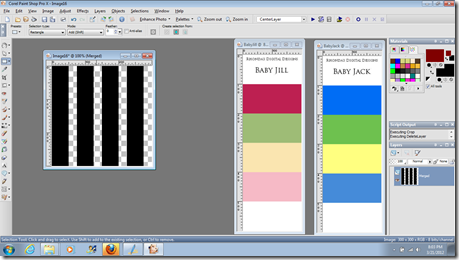
Step 18 – On the top tool bar go to Window/Duplicate. You will now have a duplicate working area that looks just like the first. Now, close out the originally saved template so as to not make any permanent changes to it. Now, if you have a color swatch you want to use, open it now. I am opening 2 to show you how easy it is to modify the template quickly and easily. So, I will now have open my Baby Jill and Baby Jack color swatches…..and this is what my screen looks like:
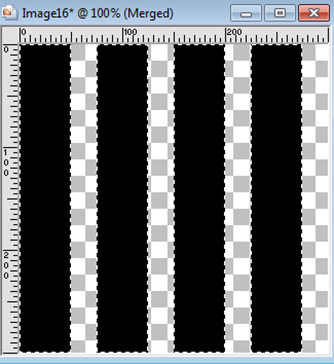
Step 19 – Now at the top toolbar go to Selections/Select All and then Selections/Float then Selections/Defloat. All of your rectangles should appear as if they have “marching ants” around them and will look as below:
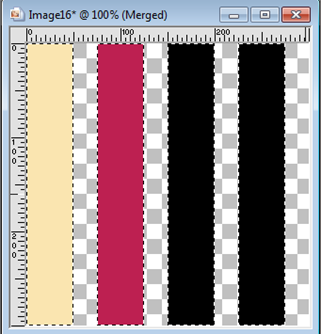
Step 20 – In your materials pallet, click on the foreground color and your color wheel will come up. IF you have a color swatch out, simply hovering your mouse over the color you want for the pallet will show the color you can select, then left click and that color will be selected. Then click OK. Now, go to your first rectangle and using the flood fill tool, fill it with the first color you have chosen. For mine, I am going to randomly select from the 5 colors of Baby Jill. And therefore, this is what my image will now appear as:
Step 21 – Repeat step 20 but this time select a different color and then flood fill the second rectangle.
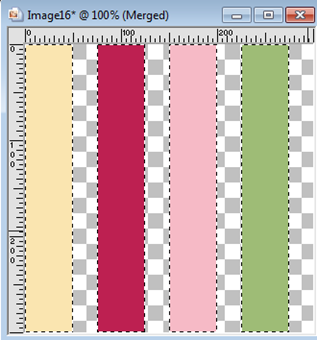
Step 22 – Repeat again filling the third and the fourth rectangles with a different color. Here is what my image now appears as. Yours will be different depending on the colors you have chosen.
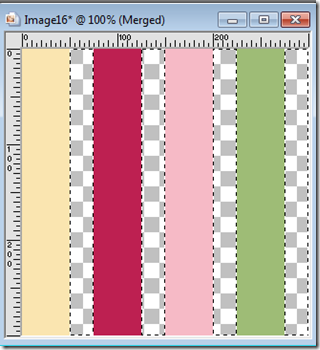
Step 23 – Now on your top tool bar go to Selections/Invert. Your marching ants will now move to the inside, that is to say, between the rectangles.
As you can see above, there are no marching ants to the left side, which means the area we will now color is between the pale yellow and hot pink and between the hot pink and the light pink….etc.
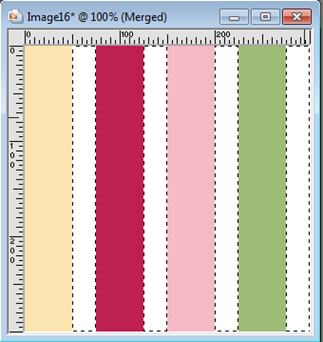
Step 24 – Now select a solid color to use as your fill color. For this tutorial I am going to use white. And then using the flood fill tool, fill in the areas between the rectangles and to the far right. My image now appears as below:
Now at the top toolbar go to Selections/Select None. You should have one layer with 4 different color stripes with a solid background color. Now, here is where the fun begins!
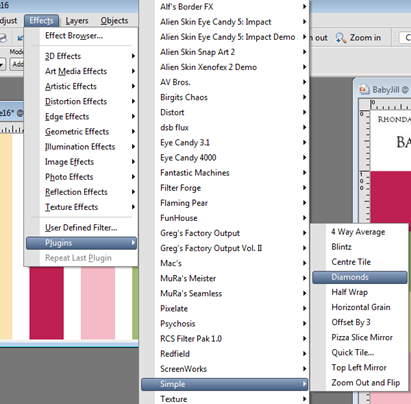
Step 25 - Aat the top tool bar go to Effects/Plugins/Simple/Diamonds
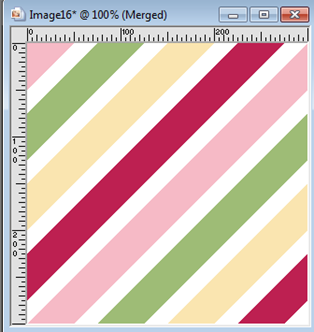
Your image will change to appear as below:
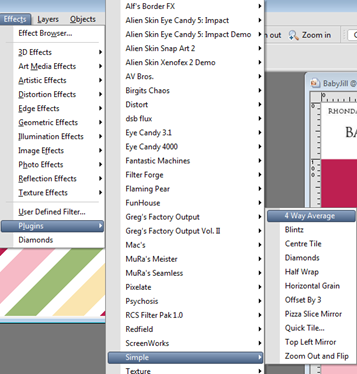
Step 26 – Now, using the top tool bar go to Effects/Plugins/Simple/4WayAverage
Your image will now appear as below:
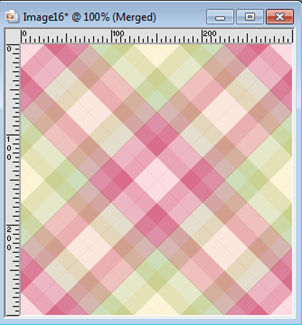
And there you go! You now have a template you can pull up anytime…go to Windows/Duplicate….close out the original and then change the stripe and background colors to whatever you would like and repeat the Diamond and 4 Way Average and have a bunch of different plaid patterns at your disposal! I called this the imperfect plaid because to me it appears to be slightly “squiggly” but that could just be my eyes messing with me. LOL
FINALLY…..go to File/Export…..and export as a JPG….save it in your My Documents/My PSP Files/Patterns folder and you will be able to access the pattern whenever you like without having to open it over and over again! I exported mine and placed it in My Documents/My PSP Files/My Patterns/ and then I named it BabyJaneImperfectPlaid.jpg because that is the color swatch I used and because it is not a Gingham or Tartan plaid.
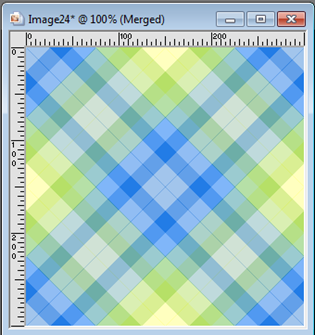
Here is my imperfect plaid using the Baby Jack color swatch.
I hope you enjoyed this tut! Happy PSP-ing!



No comments:
Post a Comment