This has been a bit of a learning experience for me. After I had posted the tutorial on making a seamless pattern using tubes for PSP, I was asked if Elements would be the same. Although I have had Elements on my computer for years, I have never used it for any of my designing. So, tonight I set out to figure it out and write this tutorial. So, here we go!
Step 1 – Open the image you want to use for your seamless tiling. For this tutorial I am using a pumpkin image I had in my archives.
Step 2 – Resize the image so that it is approximately 200 pixels in width. To do that you will go to Image/Resize/Image Size
and I changed my width from 708 pixels to 200: (all other settings will change automatically so long as you have your check marks the same as I do in my settings below)
Step 3 – Go to File/ New/Blank File and create a new workspace using the following settings:
Step 4 – Return to your image you want to use for your pattern and go to Select/All and then Edit/Copy. Return to your blank workspace and go to Edit/Paste. Your graphic will appear in the center of your canvas.
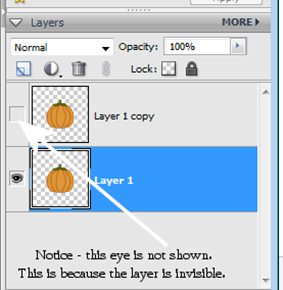
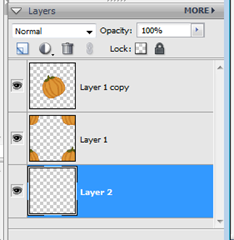
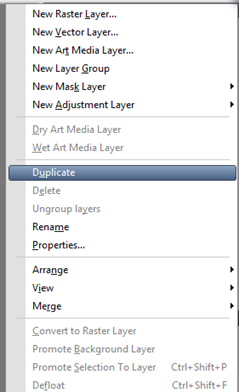
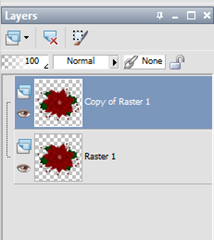
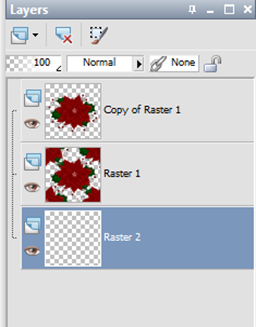
Step 5 – In your layers pallet on the right hand side, right click on your Layer 1 and select Duplicate Layer. Now, click the eye next to the duplicate layer to make it invisible for the time being and then click on Layer 1 to make it your active layer. Your layers pallet will appear as below.
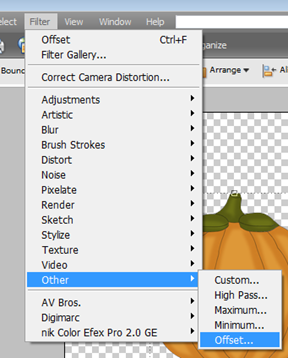
Step 6 – Go to Filter/Other/Offset
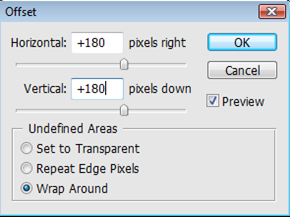
and use the following settings:
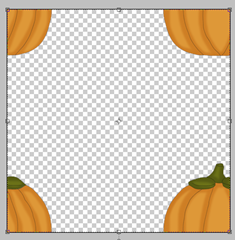
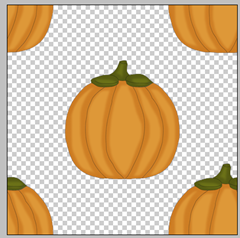
Your image will now appear similar to below depending on the image you are using.
Step 7 – Now make the top duplicate layer active and click the eye next to it to make it visible. Your image will appear similar as below depending on the image you are using.
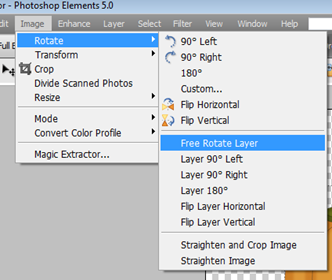
Now, here is where we can get a little more creative. We can rotate our middle pumpkin to make it appear at a different angle. Or we can add another image in the center to create a two image pattern. Or we can just leave it as it is. For this tutorial we are just going to rotate the middle pumpkin. To rotate it go to Image/Rotate/Free Rotate Layer
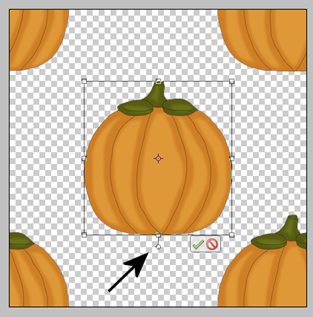
And then grab the circle at the bottom of the image (a small arc will appear so you know you can start rotating it)
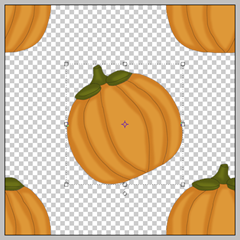
and we will pull to the right to rotate it slightly. Click the green check when you are satisfied with your rotation. Our image now appears as below.
Step 8 – Make the Layer 1 layer the active layer and then go to Layer/New/Layer and a blank layer will appear above the Layer 1 layer. Click on the Layer 1 layer and drag it above the new blank layer. Your layer pallet will appear as below.
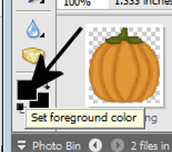
Click on your Set Foreground Color tool and select the foreground color you want to use as a flood fill for your background.
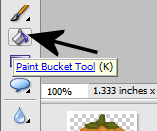
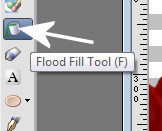
Now using your Paint Bucket Tool
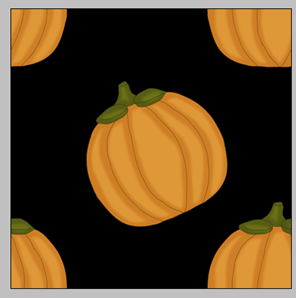
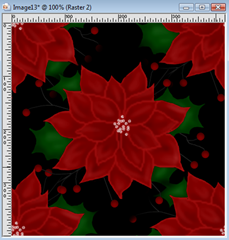
flood fill the background with the color of your choice. For this tutorial I am flood filling with black for a Halloween themed pattern. Our image will appear as below.
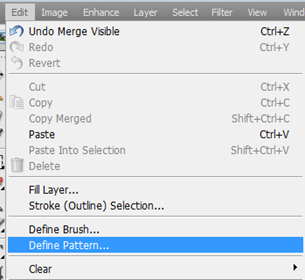
Now go to Layer/Merge Visible. Our pattern is now complete. We are now ready to save the pattern for future use. To save your pattern go to Edit/Define Pattern
Name your pattern and click OK. Your newly created pattern is now available to use as a flood fill pattern for any of your designing projects. I hope you enjoyed this tutorial!


