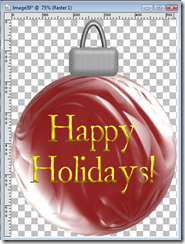
This tutorial was written in PSPX but will work in earlier versions and newer versions as well. Some tools will be different for earlier versions and will be indicated where needed. In this tutorial you will learn three things: (1) how to create a custom ornament shape, (2) how to create your ornament, and (3) creating a Tube from your ornament. Let’s get started!
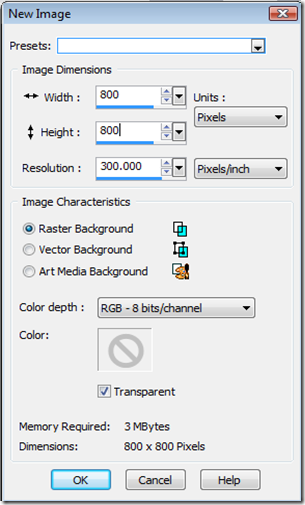
Step 1 – Open a new image using the settings below:

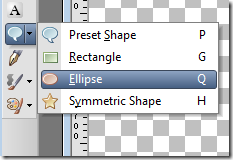
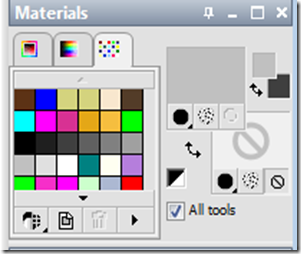
Step 2 – Set your foreground color and background color to BLACK and using your Ellipse Shape Tool

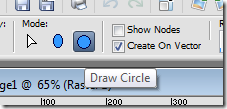
under the Draw Circle Mode

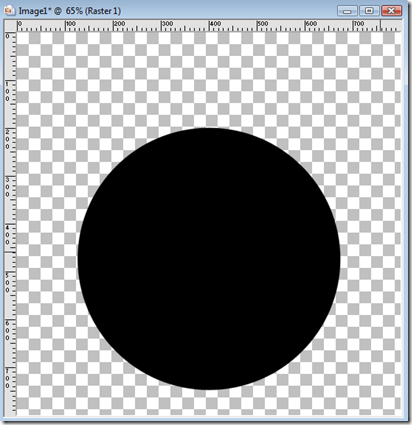
Make sure your line width is set to 0 and create a circle as shown below:

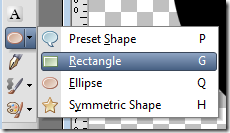
Step 3 – Add a new vector layer: Layers/New Vector. Change your foreground and background color to a dark gray color. Using your Rectangle shape tool

with the following settings:

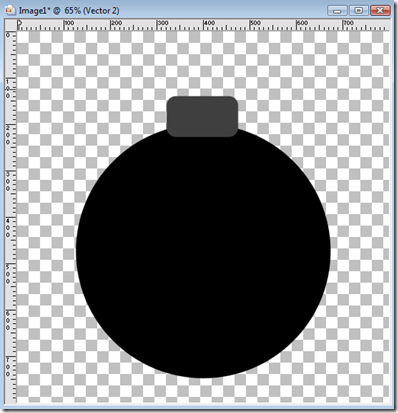
and your line width set to 0, create a rectangular shape similar to the one below:

Step 4 – Add a new vector layer: Layers/New Vector and change your foreground color to light gray and background color to null.

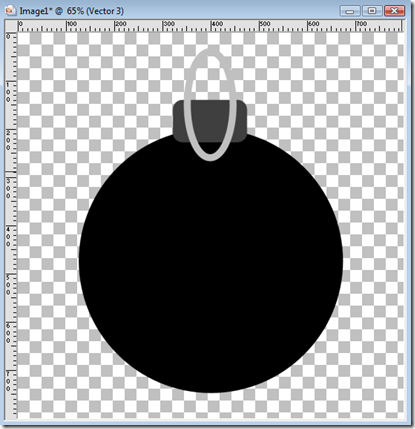
Using your Ellipse Shape tool and the following settings Mode: Draw Ellipse (With a solid line width of 15) create an ellipse similar to the ellipse below:

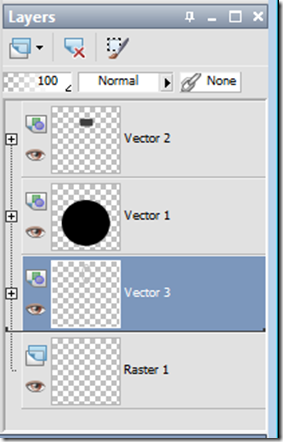
Step 5 – Move the new ellipse shape to the bottom of the layers pallet so that the order is the Ellipse shape, the circle then the rectangle:

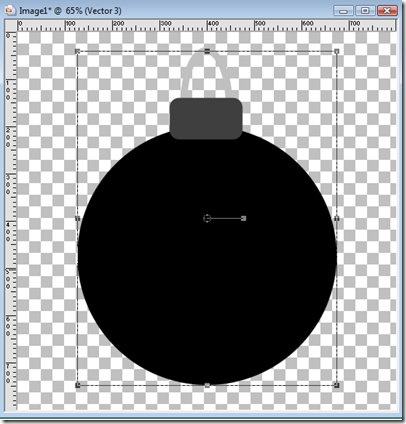
Now line everything so that your rectangle is not lopsided on the “ball” and your ellipse does NOT go on the outside of the rectangle. Using your Pick Tool (Raster Deform for versions 9 and below) Select the ellipse, then holding your shift key select the rectangle and then the circle until a square appears around all the vectors: Should look as below:

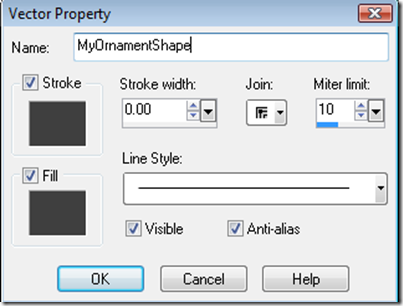
Now go to Objects/Group (All the vector layers will be merged into one vector layer). Then go to Objects/Properties. The Vector Property Name will appear as Group1. Change the name to whatever you like. For this tutorial we will call it MyOrnamentShape.

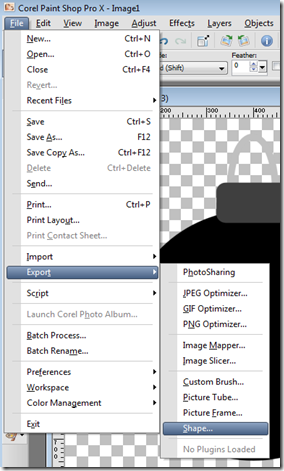
Now go to File/Export/Shape

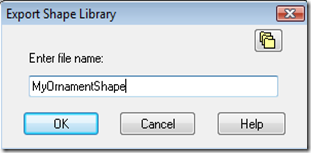
Name your shape MyOrnamentShape and Press OK":

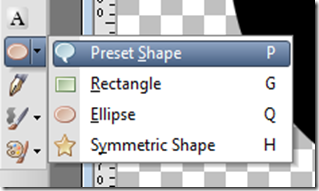
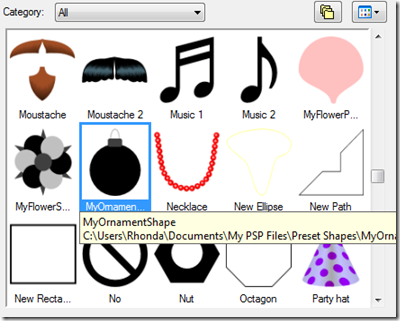
Now if we go to our Preset Shapes Library:

our shape will now appear in our library for future use (without having to create the vector all over again)!

OK! The hardest part is over! Now let’s get into how to use this shape to make some beautiful ornaments shall we??
From here….if you want to make a new ornament each time you just open a new image using the settings above and then use your newly created preset shape to make your ornament shape. Then you will follow the steps below.
USING YOUR ORNAMENT SHAPE
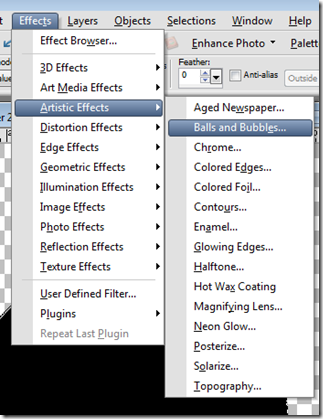
Step 1 - (After having put your ornament shape on your workspace), click on the BLACK are of your ornament using your magic wand to select the black area and then add a new Raster Layer: Layers/New Raster Layer. Then go to Effects/Artistic Effects/Balls and Bubbles.

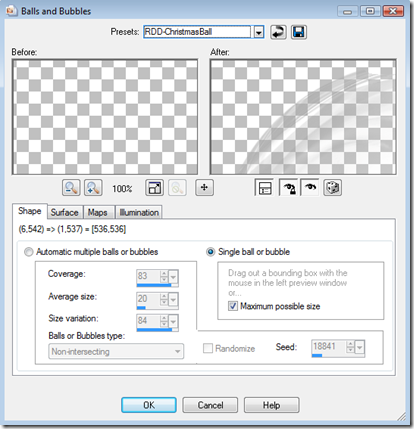
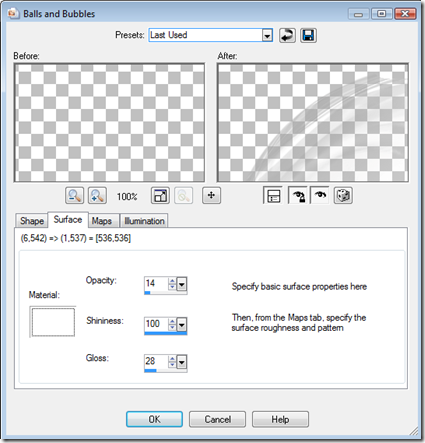
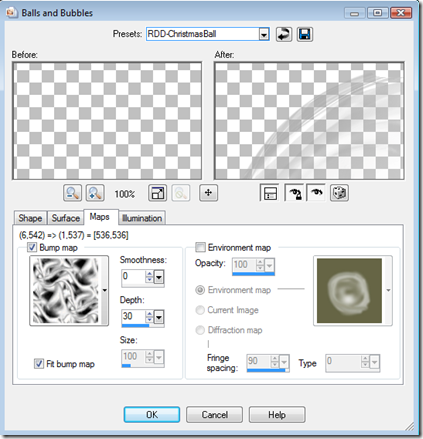
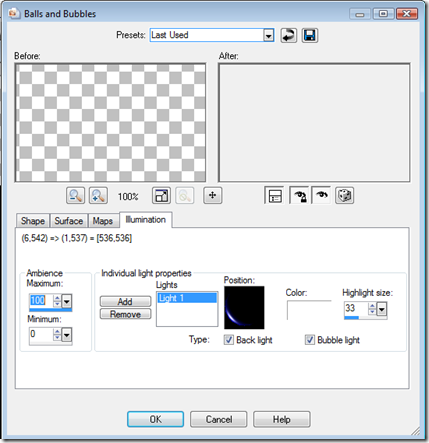
Use the following settings: (4 images to follow to show you each tab)
SHAPE TAB

SURFACE TAB:

MAPS TAB

ILLUMINATION TAB

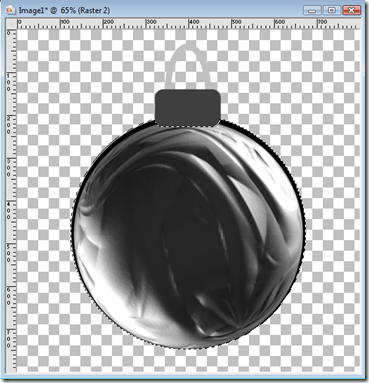
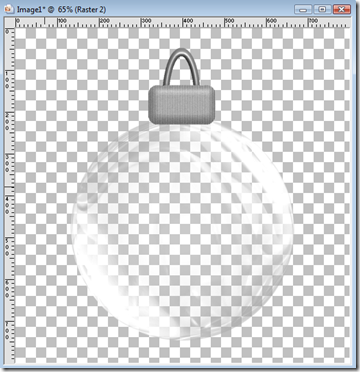
Press the OK Button. Your image should appear as below:

I know this looks a little funny, but trust me, when we are done it will look fabulous! Go to Selections/Select None.
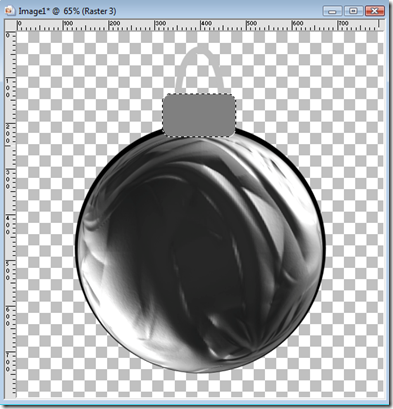
Step 2 – Return to your vector layer and select the dark gray area using your magic wand. Add a New Raster layer and move the layer ABOVE the ball layer. Then go to Selections/Modify/Expand and expand the selection by 3 pixels. Flood Fill with a medium gray for a silver clasp or with dark yellow for a gold clasp. Your image should appear similar to below: (For this tutorial I am using a medium gray color)

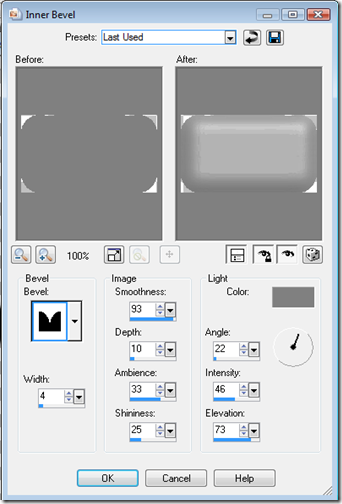
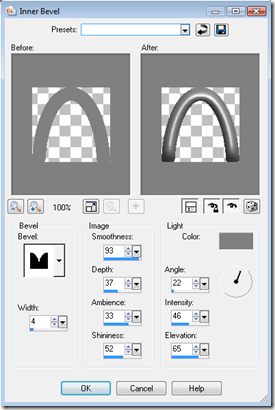
Now go to Effects/3D Effects/Inner Bevel and use the following settings:

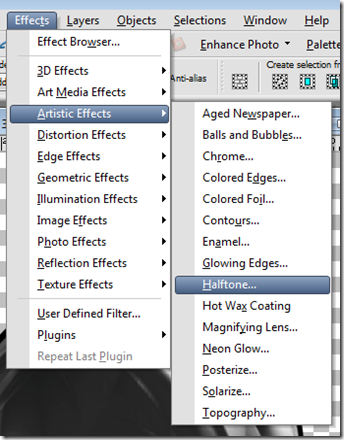
Now go to Effects/Artistic Effects/Halftone:

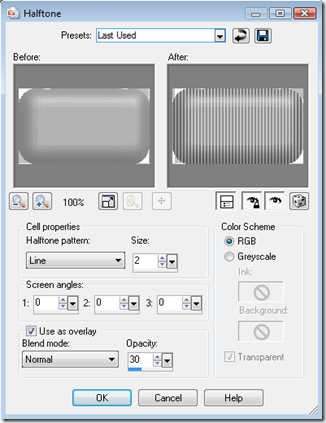
Use the following settings:

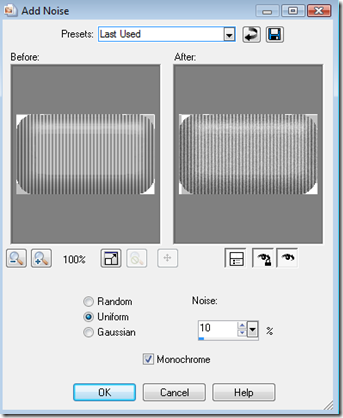
This next part is OPTIONAL: I like using it, but it is not necessary to use: Go to Adjust/Add Remove Noise/Add Noise and use the following settings:

Then go to Selections/Select None.
We are almost there ladies and gents! Your image should appear as below:

Step 3 – Now, return to your vector layer and, using your magic wand, select the light gray ellipse and, of course, add a new raster layer: Layers/New Raster Layer and move the layer to BELOW the rectangle but ABOVE the circle:
Go to Selections/Modify/Expand and and expand 2 pixels. Flood fill with the same color you used before for the rectangle. Go to Effects/3D Effects/Inner Bevel and use the following settings:

Now it is optional for you to repeat the halftone and the add noise. Use your own creativity here. Now….on to some final touches!
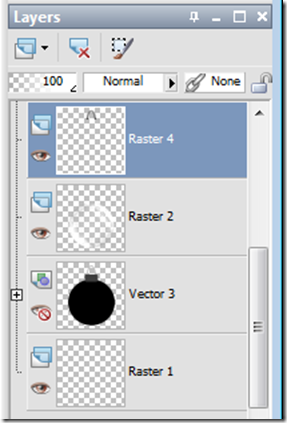
Step 4 – Make your vector layer invisible: Then return to the layer which has your “hook” ellipse on it. Your layers pallet should look like this (the layer selected will be a different color or a darker shade of gray depending on the version you are using).

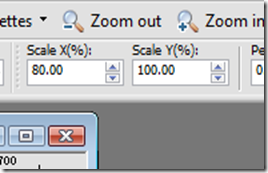
Using your Pick Tool, scale the ellipse shape using the following settings:

Your ellipse shape will move slightly to the left. Move it back until it is centered in the rectangle and then down a little so it is behind the rectangle more. Your image should appear as below:

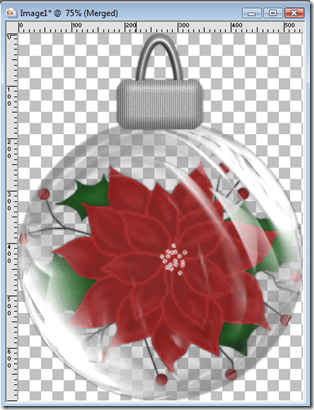
Step 5 – Final touches! Return to your ball layer, use your magic wand to select the area outside the ball. Then go to Selections/Invert and then add a new raster layer BELOW this layer Layers/New Raster Layer. (this will be behind the ball) Flood fill this with (Here is where your creativity comes out) using a pattern, a tube, a background image….whatever you like! For this tutorial I am using a tube I had made previously and placing it “inside” the ornament.
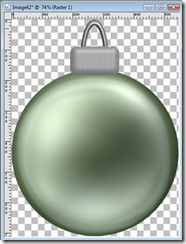
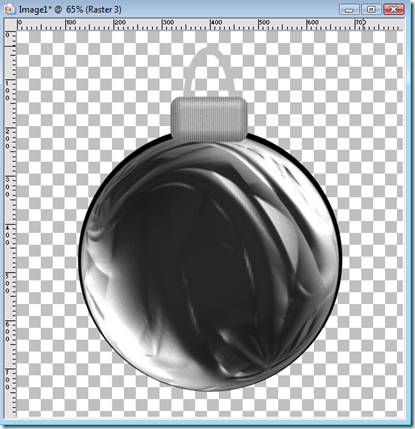
Then go to Selections/Select None. Then Layers/Merge/Merge Visible. I now have a completed glass ornament! Add a drop shadow to your liking to bring out the glass appearance if necessary. And like I said, fill with whatever your heart desires!
NOW…..remove the wasted space by using your magic wand to select the area outside the ornament then go to Selections/Invert. Then go to Images/Crop To Selection. Here is what we will have:

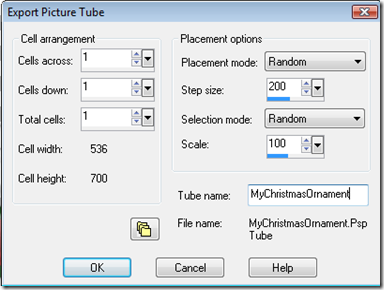
The FINAL steps to take! Save the file as a transparent PNG file to include in your kit or as a graphic in your graphics collection. THEN…..Copy and Paste as a new Image and save it as a tube for future use in future projects! Go to File/Export/Picture Tube and use the following settings: (Use whatever name you want)

Finally, save your workspace as a pspimage so later, you can return to your vector shape and create more ornaments while maintaining your size you used for this ornament.
Check it out! You just made a custom ornament shape, created a beautiful christmas ornament graphic, and made a picture tube for future use! Good job! Play, be creative….but most importantly…..have fun!
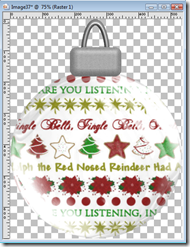
Here are a few more ornaments made using patterns and backgrounds (papers) I have already created and coloring with text:


This one was made using a different setting for balls and bubbles along side a gradient fill.
